Now sold separately for $7.99
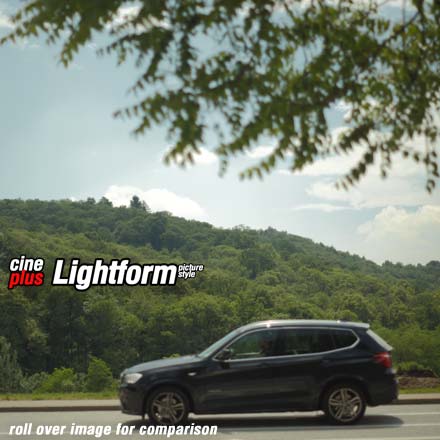
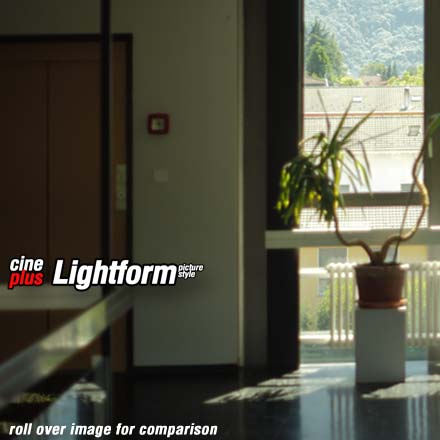
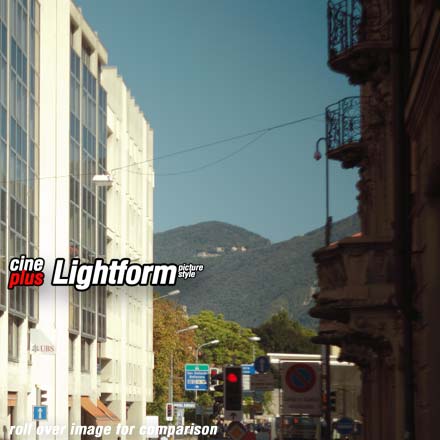
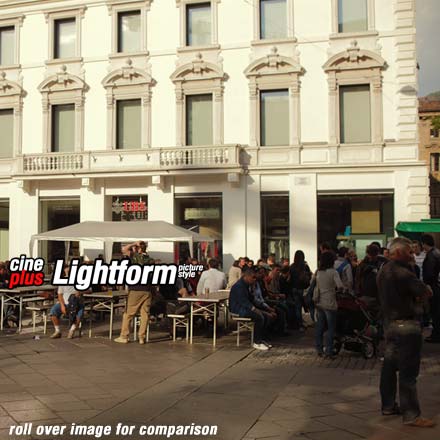
Features At a Glance (Roll over images to compare)
-

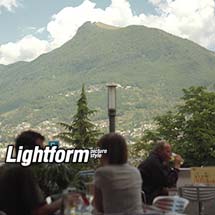
Precious data, which is hidden in the highlights, is brought down into the visible area for a true enhanced dynamic range and is more faithful to real colorimetry.
-

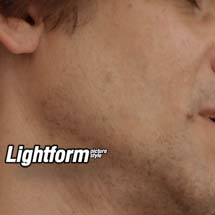
No more ugly yellow, orange and uneven skin tones. Lightform means gorgeous skin tones, right out of the box!
-

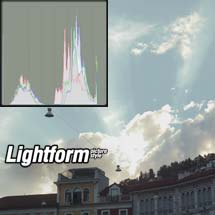
Headroom is invaluable when you color grade your footage. Lightform's headroom is there to allow for easier color correction.
-

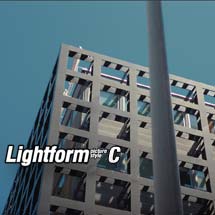
Lightform
comes in 2 flavours:
Lightform C
with the CINEMA look*
Lightform N
with untouched neutral colors.
*Enhanced version
Features included in the LightForm Picture Style Videos
-

More videos Here
-

-

-

Get the Lightform Picture Style
-
For your info:
-
For more infos:
In Depth
Cineplus is back with their most advanced picture style ever.
The Lightform Picture Style sports features uncovered until now:
LightForm Features:
Canon cameras have plenty of precious data hidden in the highlights.
The only way to deploy it is to edit RAW photos or via a picture style that is able to take advantage of it.
Lightform enhances the sensor's dynamic range by bringing down that useful data to a more visible range, before compression.
As result, you take advantage of the full latitude of the sensor with a more faithful dynamic range and more detail in the image upper range.
Unsaturated skin shadow tones, yellow, orange and red spots in the highlights, unnaturally saturated skin tones.
These are all problems that will make you crazy when you will try to eliminate them in post.
Again, unless you edit the RAW photos, they will be printed to file and stay there creating problems.
Lightform does all the work before compression, to deliver the best, most gorgeous skin tones out of the box. We tested it on models of all races and in dark to bright conditions.
True colors that can let you spare hours of color correction.
Color grading is all about headroom.
Thanks to the Lightform's headroom feature, you can, in post, raise the video level without destroying the highlights, and you can adjust the balance without overdriving the colors.
Of course Lightform can be used with -4 contrast for a greater latitude or at 0 contrast for a balanced, final look out of the box. The headroom is always present at all contrast settings.
As asked by many users, there must be a neutral version. So Lightform comes in 2 flavours:
Lightform C (Cinema)
with an enhanced version of the highly successful look of Cineplus' "CINEMA" Picture Style.
Lightform N
with neutral, untouched colors, for those who want full control of the image in post production.
Get the Lightform Picture Style
-
For your info:
-
For more infos:
More Examples (roll over images for comparisons)
Useful Tips
Exposure
The Lightform Picture Style has better highlights, better skin tones and ( Lightform C ) more filmic overall tones. The examples in this page were slightly overexposed to exalt the Lightform ability to deal with highlights. You don't need to overexpose, just use it normally, and when needed, it will take care of highlights.
White Balance
To get the most from Lightform, try always to shoot at balanced whites, avoiding too cool or warm settings.
Settings
The settings that come with Lightform are optimal: sharpness at 3, contrast at -4, saturation at -1, skin tones at +1. But you can tweak them at your taste. For a more finished look, put the contrast at 0
Get the Lightform Picture Style
-
For your info:
-
For more infos:
Useful Links
More Videos
-
Lightform Swiss test: SUMMER
-
Lightform Swiss test: NIGHT
-
Lightform test:City
-
Lightform test:City (graded)
-
Color Grading Example
-
City night shots
-
Skin Tones
-
Film color rendition


